Getting Clean, Detailed Results When Laser Engraving Wood
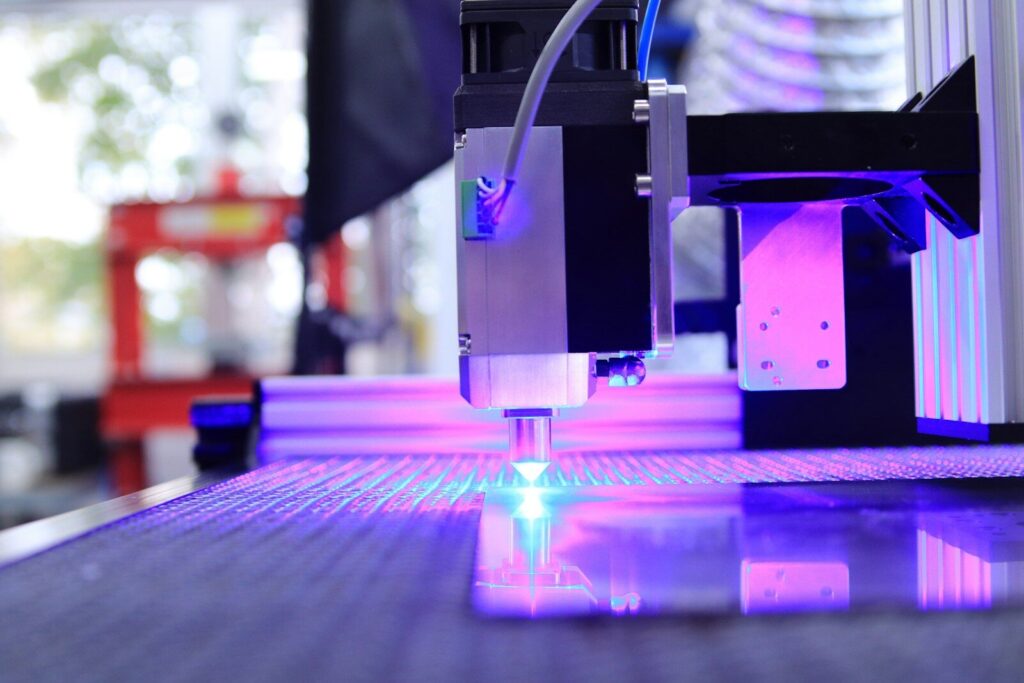
Wood remains one of the most popular materials for customisation, valued for its natural texture, wide availability, and visual appeal. Whether used for signage, decor, or personalised items, wood responds well to engraving when handled correctly. Achieving sharp, consistent results, however, requires more than simply running a design through a machine. It involves an understanding of material selection, machine settings, and finishing techniques. For businesses and hobbyists working with laser engraving wood, refining these elements can make the difference between average output and professional-quality work.
Choosing the Right Type of Wood
The type of wood used plays a major role in the final result. Hardwoods like maple, cherry, and walnut tend to produce finer detail due to their tight grain structure. These woods offer a more consistent surface, allowing for clearer engraving lines. Softer woods such as pine or cedar, while easier to cut, often have uneven grain patterns that can lead to inconsistent burns and reduced clarity.
Plywood can also be used, but quality varies widely. Lower-grade plywood may contain glue layers and voids that interfere with clean engraving. High-grade plywood designed for laser use is a better option when consistency is important. Selecting the right material at the start reduces the need for rework later.
Preparing the Surface
Clean results begin with proper preparation. Wood should be free from dust, oils, and surface imperfections before engraving begins. Even minor debris can affect how the laser interacts with the material. Light sanding helps create an even surface and removes any coatings that might interfere with the engraving process.
Masking the surface is another useful step, especially when working on lighter woods. Applying a thin layer of masking tape before engraving helps prevent smoke stains and residue from settling into the grain. Once the engraving is complete, the tape can be removed, leaving a cleaner finish with sharper contrast.
Dialling in the Correct Settings
Laser settings are critical when engraving wood. Power, speed, and frequency must be balanced to achieve the desired depth and clarity. Too much power can burn the wood excessively, causing dark edges and loss of detail. Too little power results in faint, uneven engraving that lacks definition.
Running test pieces before starting a full job is a common practice. Small adjustments to speed and power can significantly improve the final outcome. Each type of wood reacts differently, so maintaining a record of successful settings can save time on future projects.
Consistency is equally important. Keeping the machine properly calibrated and ensuring the focal point is set correctly will help maintain uniform engraving across the entire surface.
Managing Smoke and Residue
Smoke is a natural byproduct of laser engraving wood, but if not controlled, it can affect the final result. Excess smoke can leave marks around the engraved area, reducing the overall quality of the piece. Proper ventilation is essential, as it removes smoke quickly and prevents it from settling back onto the surface.
Air assist systems can further improve results by directing a stream of air at the engraving point. This helps keep the area clear, reduces charring, and enhances detail. For businesses producing high volumes, investing in good ventilation and airflow control is a practical step toward maintaining consistent quality.
Enhancing Detail and Contrast
Getting clean results is not just about avoiding imperfections; it also involves improving visibility and contrast. Some woods naturally produce darker engravings, while others appear lighter and require additional finishing to stand out.
Post-processing techniques such as applying oils, stains, or sealants can bring out detail and add depth to the engraving. In some cases, lightly sanding the surface after engraving can remove residue from non-engraved areas while leaving the engraved sections intact, creating a stronger visual contrast.
Paint filling is another option, particularly for signage or decorative pieces. By filling engraved areas with paint and sanding the surface clean, businesses can achieve a bold, high-contrast finish that stands out.
Maintaining Equipment for Consistent Output
Clean engraving results depend on well-maintained equipment. Lenses and mirrors must be kept free from dust and residue, as buildup can affect laser performance. Regular cleaning ensures the beam remains precise and consistent.
Routine maintenance also includes checking alignment and replacing worn components when necessary. Even small deviations in alignment can lead to uneven engraving, especially on detailed designs. A consistent maintenance schedule helps avoid unexpected issues and keeps production running smoothly.
Avoiding Common Mistakes
Several common mistakes can affect engraving quality. Using incorrect settings, skipping surface preparation, or choosing unsuitable wood are typical issues that lead to poor results. Rushing the process often results in errors that require rework, increasing costs and time.
Another common issue is overcomplicating designs for the chosen material. Fine details may not translate well onto certain types of wood, particularly those with pronounced grain patterns. Adjusting designs to suit the material ensures the final product meets expectations.
Conclusion
Producing clean, detailed results when engraving wood requires attention at every stage—from material selection to finishing. By choosing the right wood, preparing the surface properly, optimising machine settings, and maintaining equipment, businesses can achieve consistent and high-quality outcomes. With the right approach, wood engraving remains a reliable and visually striking option for a wide range of customisation projects.